

The alphabet was the theme. We used a few shapes and used them over and over for the different letters. I always love pink and we tried to darken the "h" and "i" for a little hi effect.

I wish you could tell, but here the letters are gathered on the right side of the page. Makes it interesting right?
Hand model: Emily Christiansen
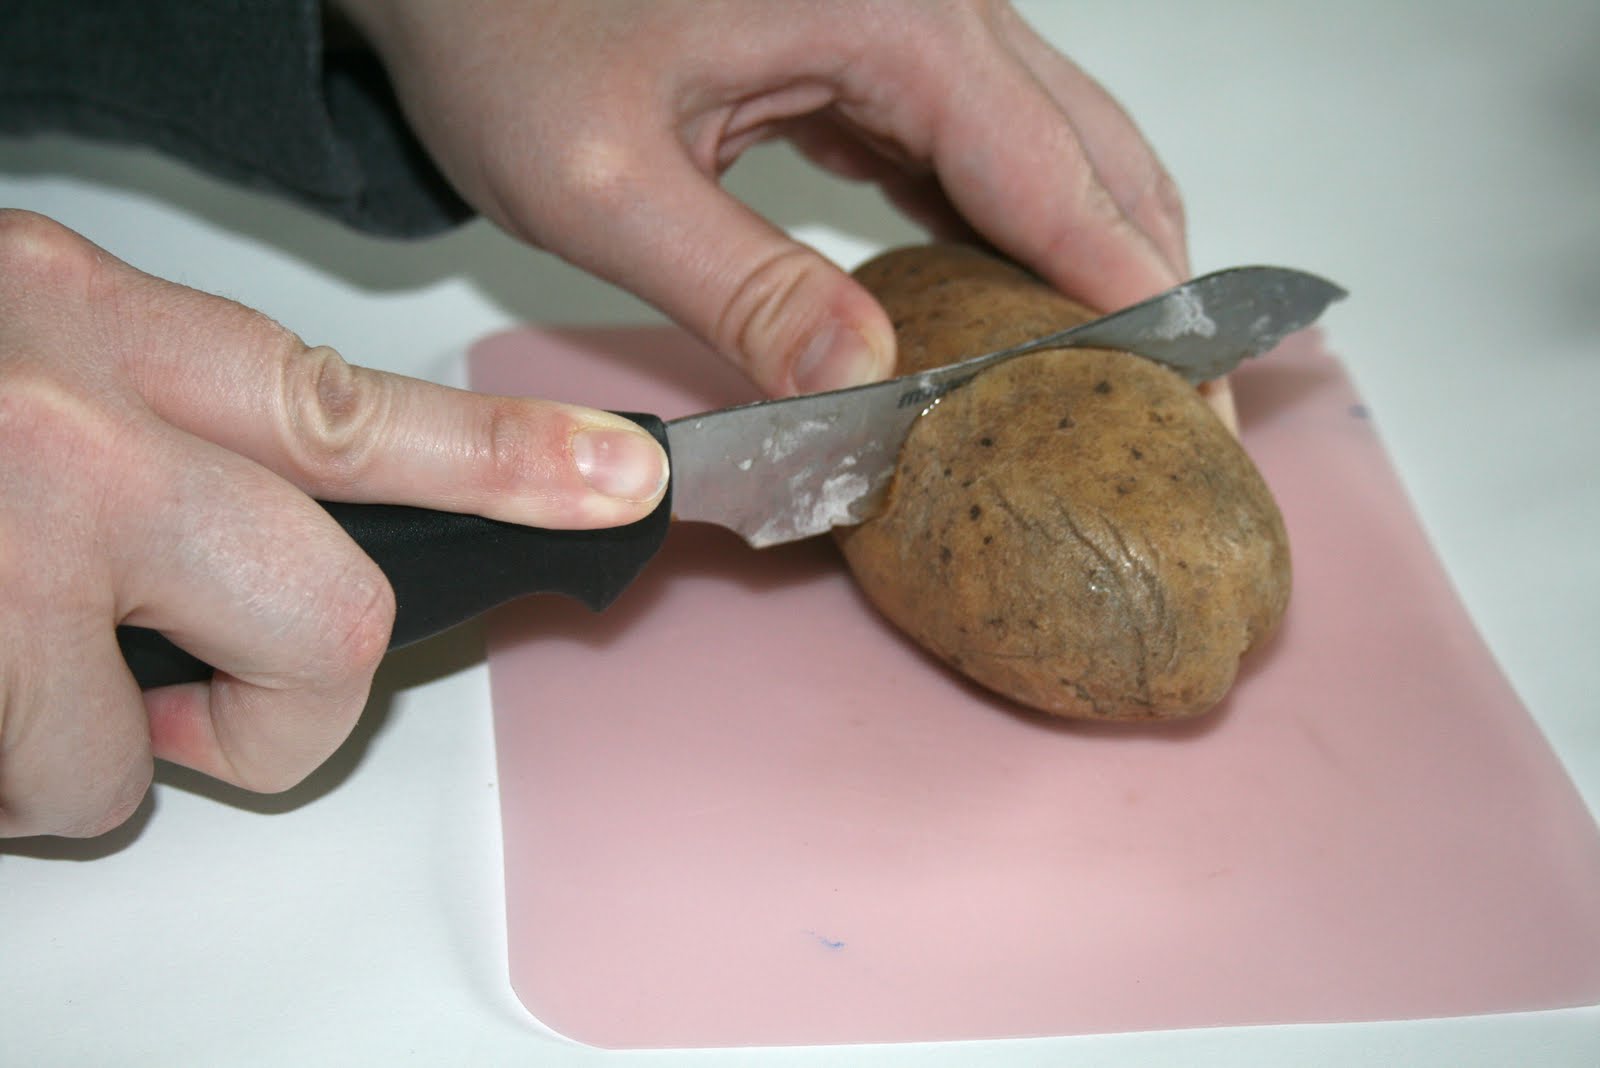
Step 1) Cut the potato. Decide first what shape you want out of the potato to make sure it is long enough.

Step 2) Peel around the potato where you will be printing so it is a smooth print.

Step 3) Use your little creative brain to cut out the shape. We used a tea spoon to get a round middle.

Step 4) Paint the potato (I like to paint it, not dip it) and stamp where you want it.

Step 5) You have your final print. For the alphabet we used the O for A B D G P and Q. We used the U for the W Y and M. The R for the F and J and so on.
I love potato prints and my kids love doing it too. When my first boy Gray was born my kids were making these and I decided to make Gray's birth announcements out of them. I made a little monkey on the front. I can't wait to hear what you come up with!
This is a great idea. I might link to my school site, and use the shapes for handwriting without tears. You are a creative genius!!
ReplyDeleteso cute!! but I promise you won't be hearing about me coming up with anything. poor, uncrafty me. I need you closer to absorb some crafty vibes.
ReplyDelete